minimake

minimake: music shelf!

As you may recall from a previous post, I have a variety of keyboard/synthesizer/music stuff that I enjoy playing with. One glaring deficiency in my setup is my lack of enough table space to easily work with everything, and I've been intending to build some sort of shelf for my keyboard stand for a while now.

Last night I happened to look in my garage and noticed that all the materials I needed were sitting right there waiting for me (leftovers from previous projects). For this simple shelf I cut some plywood and some 2x2's down to size, attached the 2x2's to the bottom of the plywood, and sanded everything a little bit to take the majority of splinters off.

Behold, the result!

I'm going to give this a try for a while to see if it's a good size/plan - assuming it is I'd like to put some kind of veneer over the surface to make it look nicer and add a small lip to the front edge to keep things from sliding off.

This shelf is 35" wide by 18" deep, which comfortably fits my Arturia MiniBrute SE next to the Alesis ControlPAD midi controller:

It also (just barely) fits my Korg MS-20 mini and the MiniBrute side-by-side:

Please forgive the poor quality of the photos; I took these when I popped home over my lunch break so I didn't have time to move the things to better lighting or get out a better camera.

Anyway, I'm really happy with the results, especially given that I was starting with scrap materials. I hope my synths' newfound accessibility encourages me to use them more :)
minimake: serving board!

I'm doing a few small projects with the leftover wood from the bed I built for Caitlin for Christmas. One of them was particularly fun and quick - I made a serving board for my brother Sam and his family. The board was already planed from one of the side rails of the bed, so I sanded it smooth and wiped it down with a tack cloth before applying a generous coat of teak oil. Teak oil is designed for hard woods (particularly teak - surprise!) so it seemed like a good match for the especially dense walnut I had been working with. After letting it soak in for 30 minutes, I applied a second coat and let that soak for 15 minutes before wiping the board dry with a cloth. I repeated this process for the other side of the board. The teak oil really brought out the grain of the wood and should protect the wood very well. I think the board will look quite nice with a baguette and an assortment of cheese on it. Now if only I had also given Sam a baguette and an assortment of cheese for Christmas...

minimake: ornament decoration!

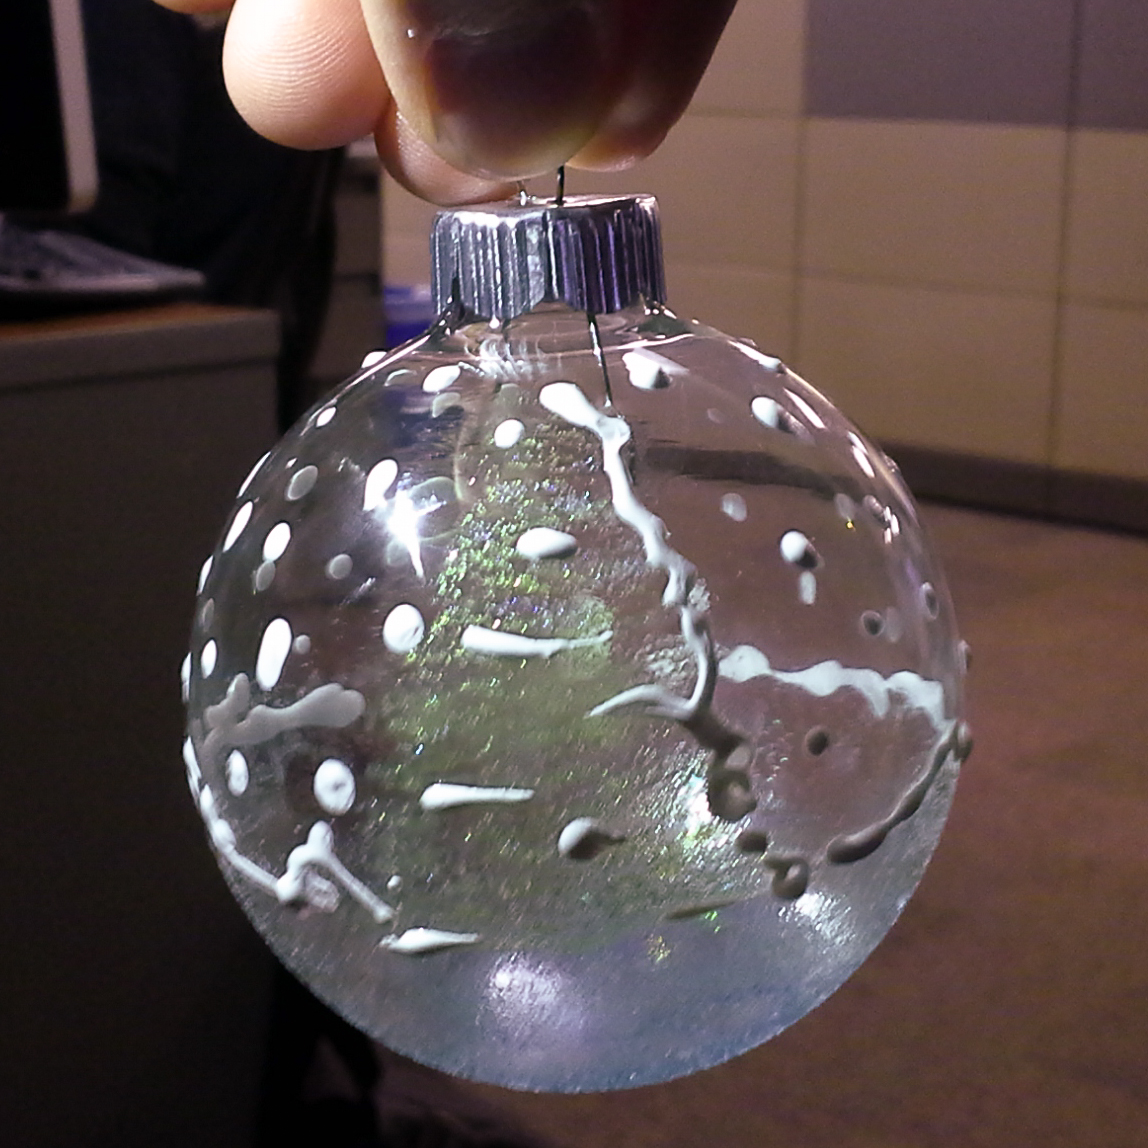
For the past few weeks we've had some clear glass ornaments and craft supplies available at the Help Desk for staff to decorate. I hadn't done one yet so today I picked up an ornament and some paint and set to it. The normal paints were missing so I ended up using sparkly paint.

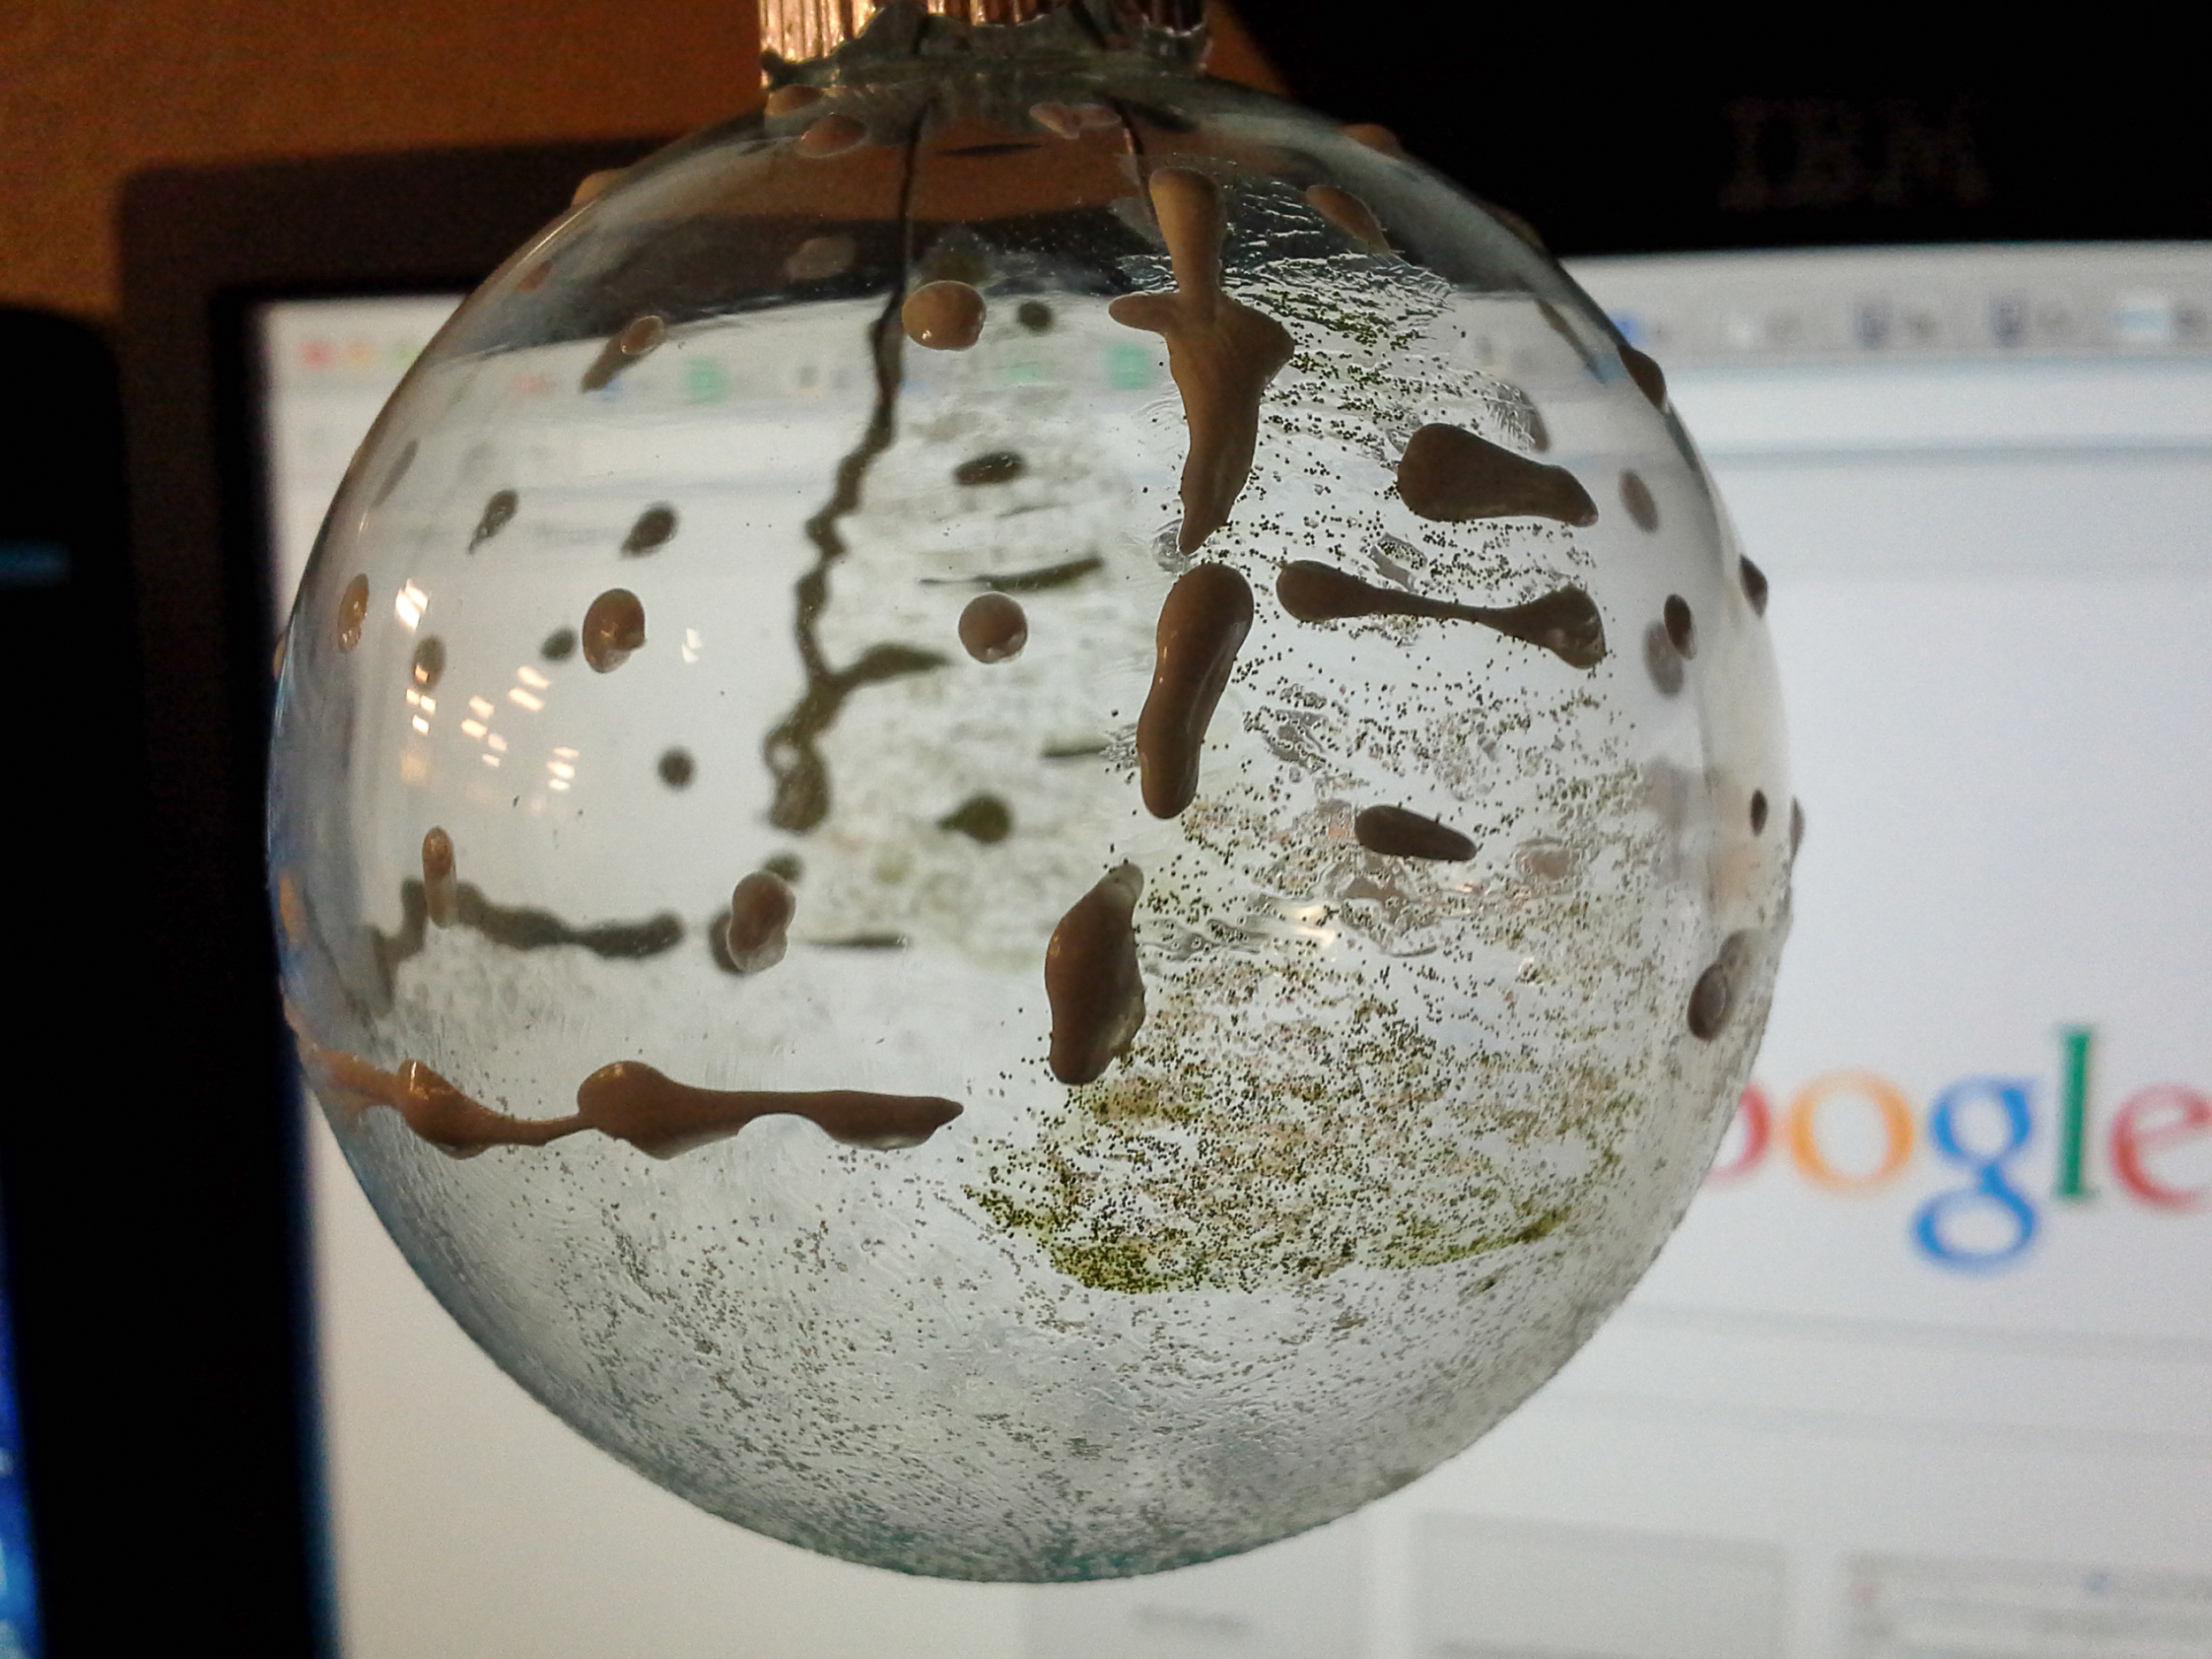
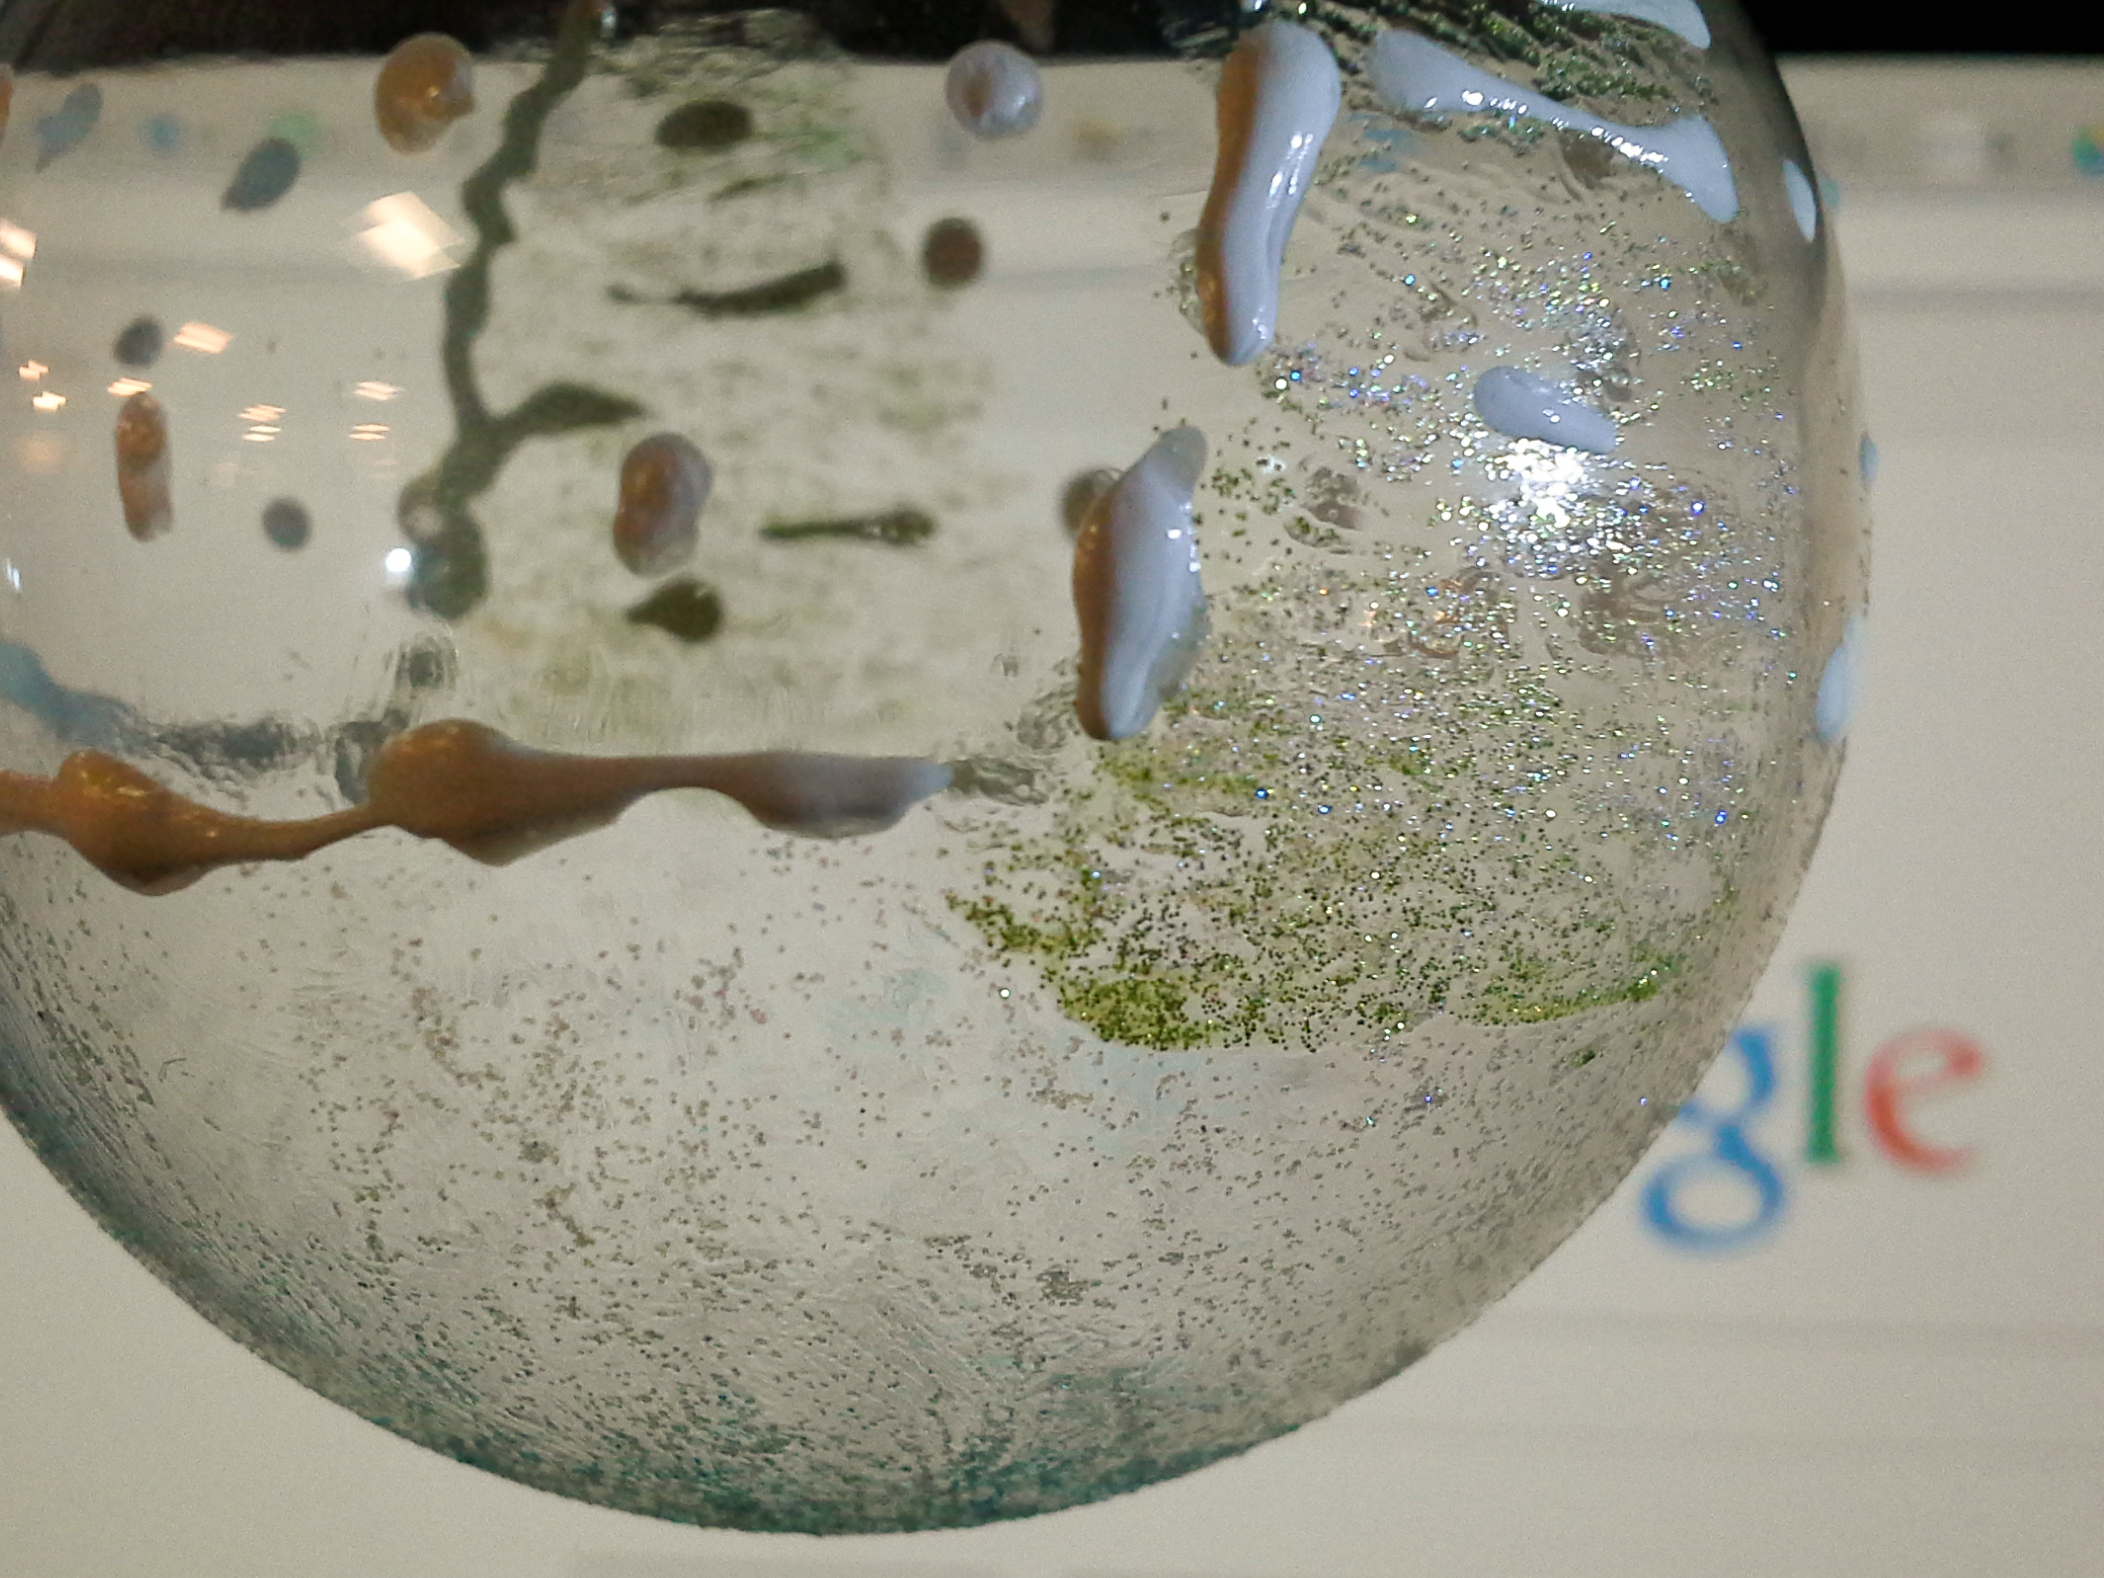
My first step was to cover the bottom portion with blue paint and let it get mostly dry. After this I painted over the blue and about halfway up the side with white to create the effect of snow (with blue shadows below). After this had dried, I used green and painted two happy trees on the side of the ornament. I let these dry halfway and then added some white to highlight the branches with a bit of snow. The last step was to use "dimensional fabric paint" (which came in a squeeze bottle) to dot the top half with snow, accent the trees, and mark the horizon line more clearly. Here's the result:

It was a fun, quick project that I really enjoyed. Starting now I'm going to call this type of thing a 'minimake' project - something crafty or creative that is done quickly without being part of a larger project. Speaking of larger projects, I'm hoping to write out the general shape of my arrangement for O Come, O Come, Emmanuel over the next few days and get a lot of the recording done this weekend.

I'll leave you with a few more photos of the ornament: